2008/12/01
My second screen printing project.
I found some burgundy bedsheets on sale in Anttila, and made a blanket cover from them for my mmmmmm-so-warm camel hair blanket from Lidl. (Thanks to Tiina for helping out with sewing!) I started to think that a subtle silvery plant pattern along the sides would make the blanket ever more nicer. So here is that process.
By the way, I wish I would have done the printing before sewing. Would have been so much easier, especially with the corners.
I drew the plant pattern by hand, scanned it, edited it to black/white and printed on paper. Then the pattern was copied onto two transparencies by a photocopier. These were glued together (to make the black REALLY black) and a printing screen with photo emulsion spread on it was exposed through the transparencies by ultraviolet light.
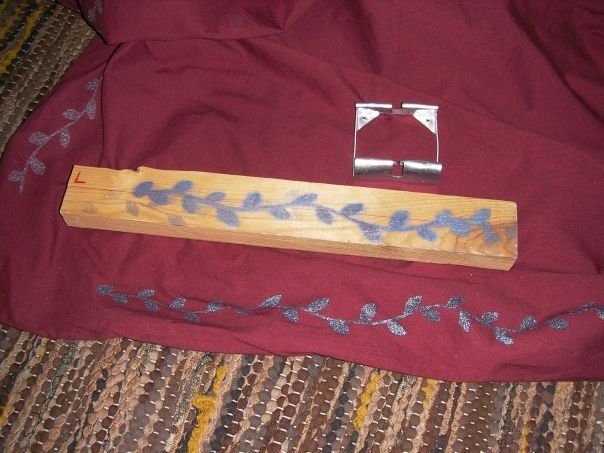
Because the pattern was repeating, I needed to devise some sort of a guide to align the endpoint of the previously printed piece of the pattern with the start point of the pattern on the screen. I used whatever I had lying around. The fabric was fixed in place onto this piece of wood using a metal clip. The pattern endpoint was always positioned in the same spot on the piece of wood. This was done by positioning a "key leaf" in the pattern to the end of the planc (X axis) and by centering the pattern endpoint (Y axis).
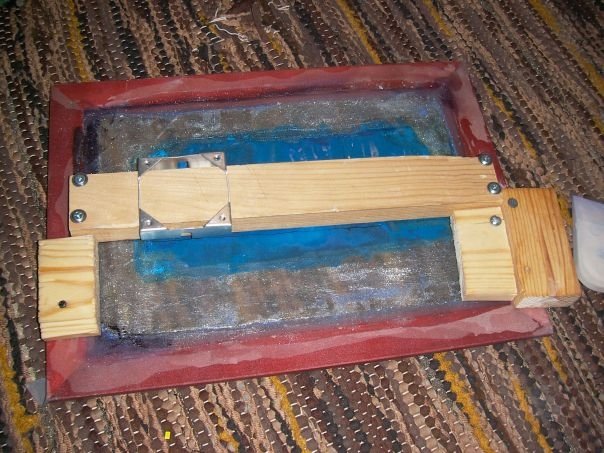
Wooden guides were attached to the screen, seen here from the bottom side. This way the piece of wood (with the fabric on it) could always be positioned in the same place under the screen.
This is the crappiest screen I'll ever make! LOL! I found the frame in someone's trash. I experimented with some sprayable photo-sensitive laquer. But turned out it had a natural repulsion towards silk... So I washed the screen again and spread the blue photo emulsion on it. I was feeling cheap, so I used silicone on most of the area. A few leaks were detected in initial testing, so these were fixed by adding more emulsion and more silicone... Yuck.
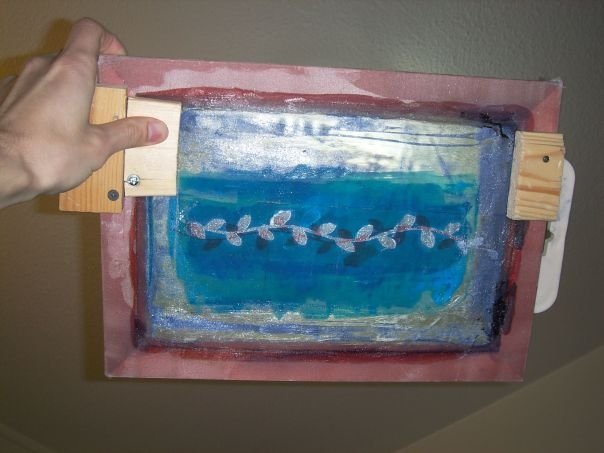
Here is the screen upside down with the piece of wood in correct position. Only the fabric is missing. And it's upside down... The four screws on the piece of wood lift it up so that it won't rest on the metal clip alone.
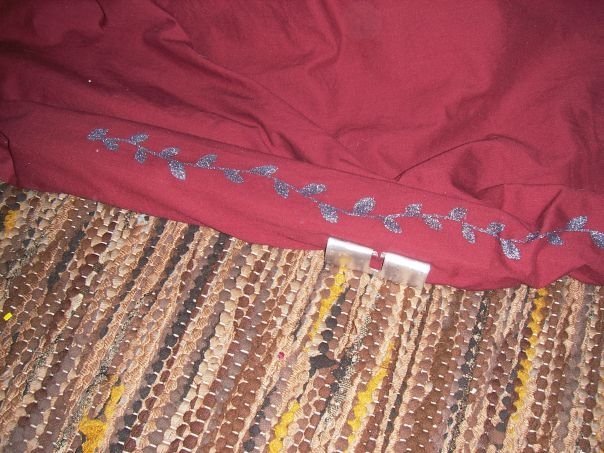
Here the fabric is fixed onto the piece of wood, right after printing. The wood is inside the two-layer blanket cover, so the backside did not get printed on. The discontinuity is somewhere within the metal part. The pattern was designed so that a slight misalignment is undetectable.
The emulsion dries almost instantly with the cotton fibers sucking away the moisture so I was able to work as fast as I could without worrying too much about dirtying clean parts of the fabric. A slower working speed would have given better pattern piece transitions however, because the screen seemed to somehow smear the ending of the previous pattern. But I did not want to risk the emulsion solidifying onto the screen!
Oh how much easier this would be with a rolling stamp!
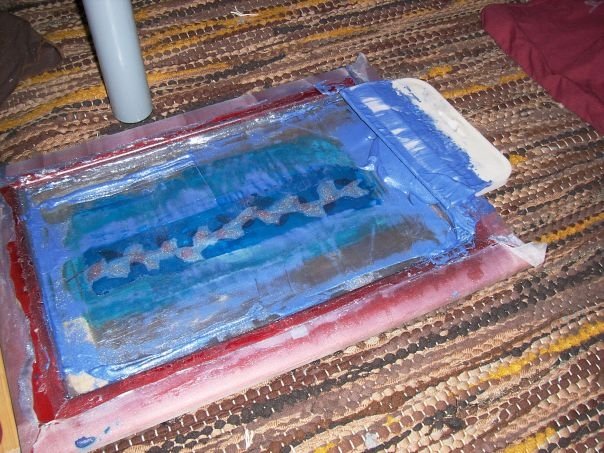
A messy job, but I managed. A rubber tool (on the right) was used to spread the mixture containing: opaque printing emulsion, aluminum flakes, blue pigment and a tiny bit of white printing emulsion. I used the pigment and the white emulsion because I was not perfectly happy with the color created by the flakes alone. Two sweeps gave a deep penetration onto the fabric.
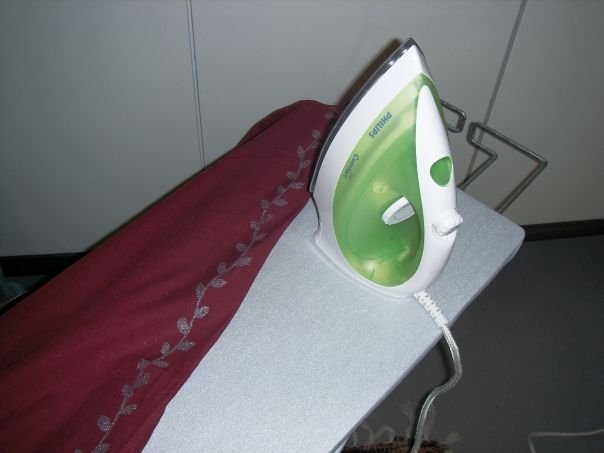
After drying, the pattern was ironed to fix it. Notice how it is not as blue as you would expect from the previous picture. This is because there is only a very thin layer of the emulsion on top of the brightly reflecting aluminum flakes. But it is the way I wanted it. I found in initial testing that the fixed pattern will not fade in the washing machine - good. (P.S. Well, actually after a year of use there's hardly any flakes left, but the pigment stayed, so the pattern is still visible)
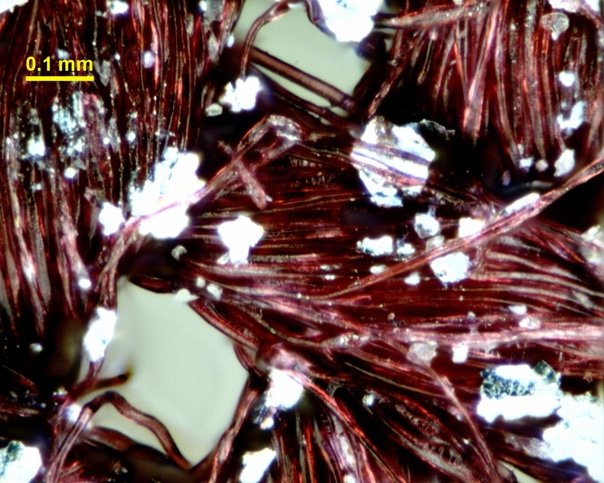
Individual aluminum flakes on the cellulose fibers of cotton, seen through a microscope. They appear loose, but they are in fact glued to the fabric by the printing emulsion. Because most of the fibers ares not covered by the flakes, the "silver" won't appear as bright as it could was all the surface reflective.
The largest particles are about 0.1 mm in diameter while the silk screen holes are about 0.2 mm x 0.2 mm, so things work A-OK. These kind of aluminum flakes might be sold as "100 Mesh", I guess.
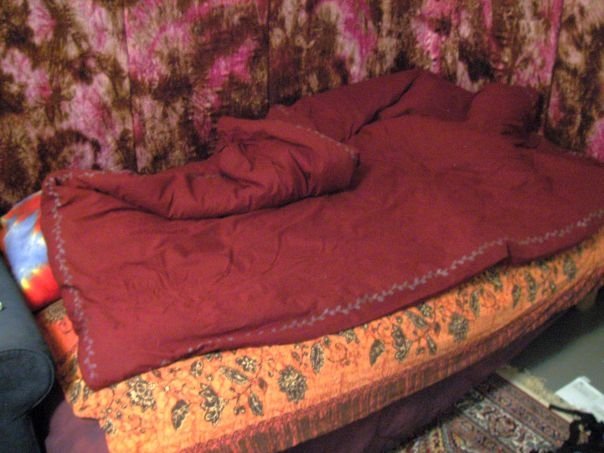
The finished product. I'm happy with it!
2009/09/01.
The aluminum flakes are gone by now, in loundry I suppose. It still looks nice though, because of the added blue pigment.


