Bilberry

I have started eperimenting with natural dyes to be used in a CD cover art project. The first one of vegetable dyes is bilberry juice (Vaccinium myrtillus, maybe you know it as mustikka or blueberry). It seems quite versatile!

I knew from beforehand that the color of the juice depends on pH. When I handle the berries without breaking them, I get a bluish shade onto my fingers. But if I manage to break some of the berries, releasing the acidic juice, the shade tends towards red. And when I wash the bucket that I use to collect them, there is a shift from red to blue as the residual juice is diluted and pH approaches neutral. So I tried screen printing with both plain bilberry juice and with bilberry juice mixed with plenty of baking soda (sodium bicarbonate, NaHCO3) that raises the pH to around 8. I also tried heat-treating the dry print in the oven, until there was a change in the shade, and ultraviolet ligth (UV) irradiation for 6 hours. See the above picture for results. I think there is quite a nice selection of colors achievable by different treatments! Plain juice gives a bluish-purple shade, and sodium bicarbonate shifts the color towards cyan. Heat treating gives a caramel color, but with the added sodium bicarbonate, heat treating gives a greenish brown "darkened leaf" shade. The colors seem quite UV-resistant, unlike the cardboard, which yellows a bit.
Printing was done without any resist, so I will press more juice from last year's bilberries and add some resist. Hopefully the print will then have sharper edges.
For this experiment, I let 0.5 dL of the juice boil briefly, added 5 ml of potato starch, let boil briefly again, cooled down, and optionally added 1 ml of NaHCO3. The results:

Either it was the boiling or the method of juice extraction that made the least treated test print more red than before. Potato starch seems to work quite well to make a nice printing paste. The burned colors each seem to match their unburned counterpart to make a nice color scheme. Now I'll just have to pick with, or without, NaHCO3, for the CD cover art project. I'll go with.


For the CD cases, we want to use natural materials, and recycled materials, and to have them hand made so that there is added value to the purchase of a CD.


I could not reach the other guys for comment on the title etc. yet. But I will try out the above anyhow. The way I did the script was by first writing by hand, taking a photo of the writing and then following the traces in Inkscape using the calligraphic pen tool, with a width of 15 and a mass setting of 11. The procedure to make the wavy background was slightly complicated, and I will probably write another article about it, as the process gives such nice results. I first tried without the background but thought it looked too empty.
2010-09-06

Surprise webcap mushroom
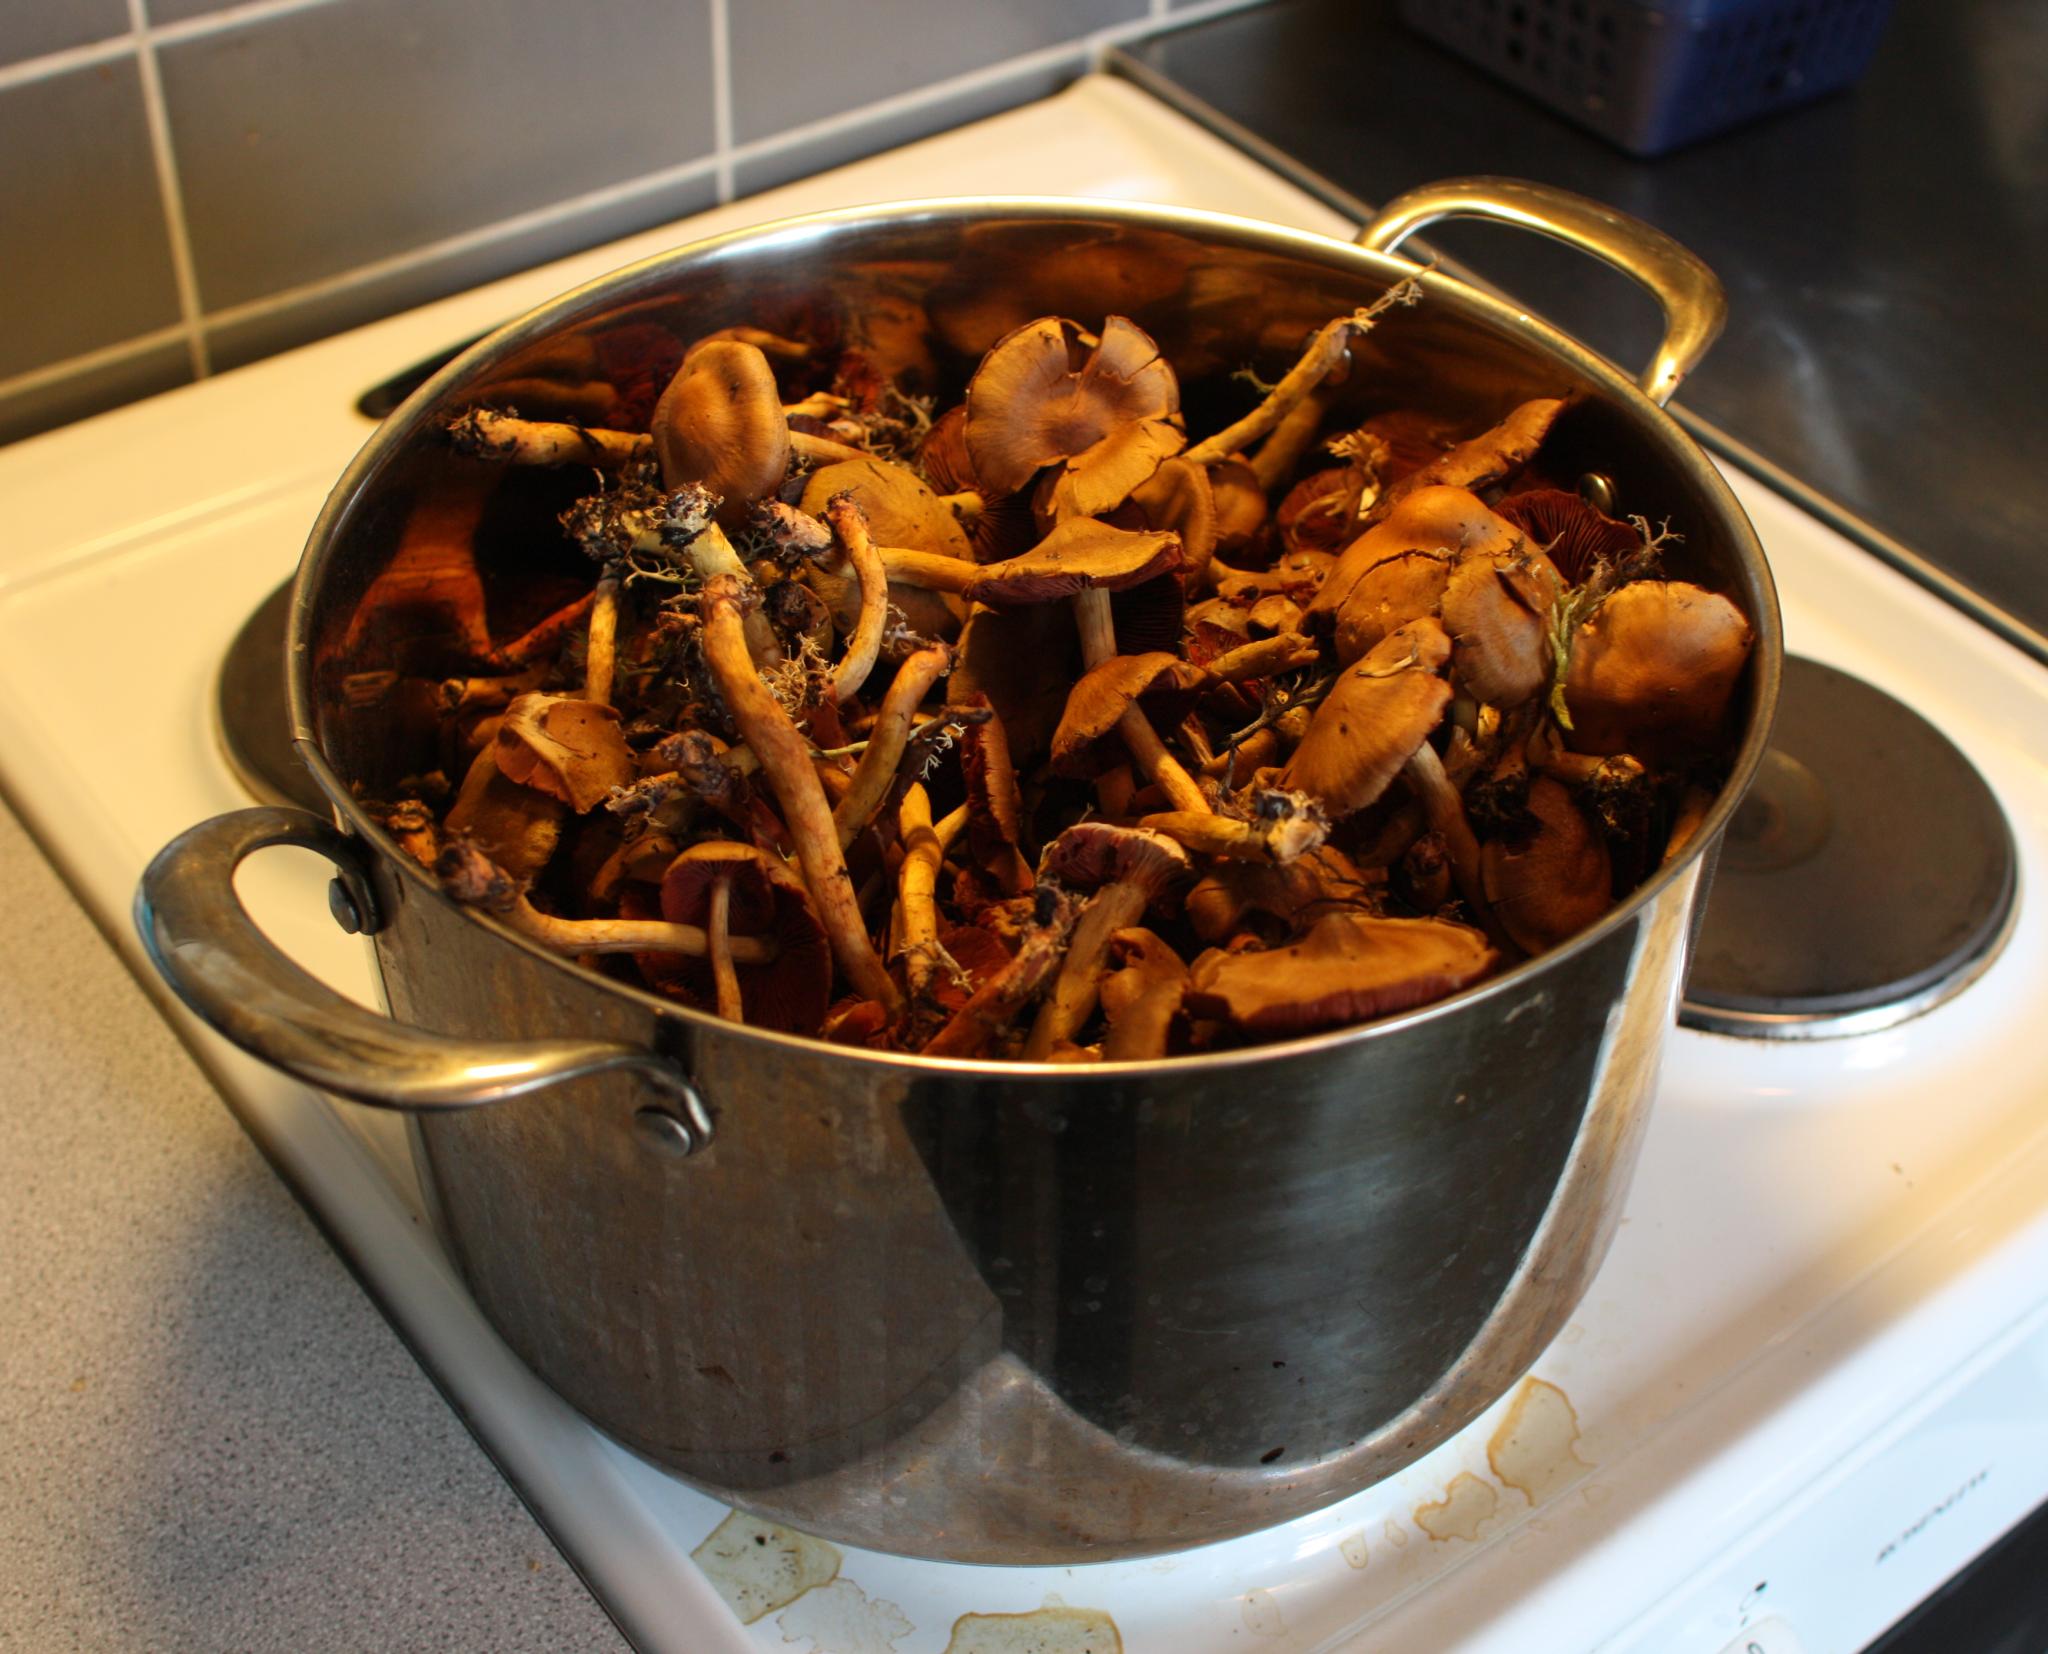
Next up: surprise webcap (Cortinarius semisanguineus, verihelttaseitikki). It is a very common mushroom in Finland, but only yesterday did I learn to recognize it. I collected a bagful, and cooked it to extract juice, which I then boiled to concentrate it.


After tinting, there's more of a feeling of holding a treasure in your hands... :) Also the color of the bilberry ink got shifted away from cyan to dark blue, which is a good thing. The mushroom juice may be slightly acidic, or the shift may be simply due to color mixing.


Turmeric
I had once put some curry-seasoned chicken into a colorless, translucent polyethylene container, and could never wash off the yellow stains. Curry contains turmeric, which again gets its color principally from the chemical curcumin that it contains.
I joined the sports association OYUS Beach Volley in 2012. We were in the process of improving the outdoor courts, and one thing we needed was lines to mark the playing area. My friend Samppa Rehu had obtained a bagful (about 170 m) of one way lifting sling from a harbor. They are allowed to use them only once, after which they must be disposed of, so this was a a nice way to recycle the material. I cut lines for two courts to the correct length and sewed them together, adding small rope loops in the corners and in the middle.
For a third line set I had an idea that it would be interesting to try to color it using curry powder. I had a large jar of it that I had not used for a long time because of my allergy to chili, and it was already past its expiration date by a year or so. The bands were made of very thin fibers of some plastic, probably polypropylene, so I thought dyeing using the curry powder might work just as well as with the plastic container earlier. I tried a small sample by cooking some water, throwing in some curry powder, and by putting the sample piece into the solution. In a couple of minutes, the sample had absorbed enough curcumin to give it a nice yellow shade. So I proceeded to pour 20 liters of tap-hot (50-60 °C) water into a 30 liter container, added about 300 g of the curry powder, mixed, and added 55 m (2 kg) of the lifting sling. I kept mixing the contents occasionally over the following day, giving the curcumin ample time to partition into the plastic fibers. Then I washed the sling a couple of times and sewed it like the previous ones.

Perhaps we'll see over the summer if the curry flavor repels or attracts mosquitoes, and if the color can take the sun.
Well it didn't take that long. I had the bundles sitting on a sofa next to a window, and the yellow color is vanishing! So the lightfastness of curcumin seems to be extremely poor. There's almost no yellow left after a few sunny days, even when the light gets filtered by a 2-layer window.
Wau, tulee mahtavat kannet!
:)
What very interesting experiments. Have you done any more. Just how light fast are the blueberries? I’ve experimented a bit, but not as interesting as yours. I’ll give the sodium bicard a try at some point. Thanks for sharing.
Myfanwy, this is all I did. I didn’t see any deterioration in the color, by UV-radiation. I think if pH is not stable then that will change the color. Like, there’s no hope that the color would keep in laundry, it’ll turn brown.