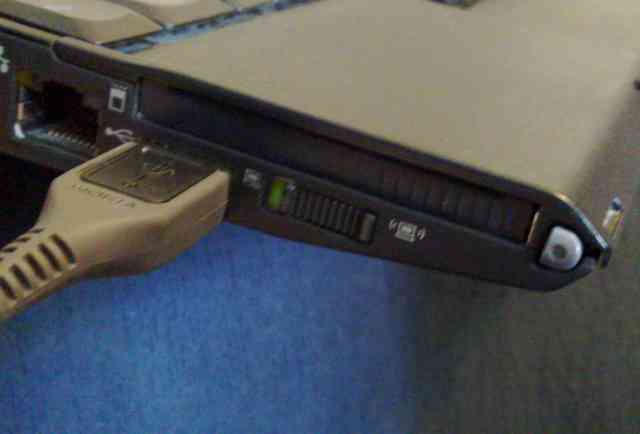
I became very annoyed by the reoccurring disturbances to Internet connectivity by the overly sensitive master control for wireless radios switch of my ThinkPad X200 laptop. So I superglued it to ON position.
The master control for wireless radios switch. Glued to ON position.
No help. The glitches were still there, shutting down WLAN randomly and whenever I pressed my palm against the palm rest. So it wasn't just me accidentally pushing the switch, although I admit doing that too. I endured the nasty Windows message boxes and WLAN dropouts for quite a long time, until I finally decided to get rid of the problem once and for all by electrically hard-wiring the switch to ON position. A very good decision, one which I should've made much earlier!
Inside the laptop. That dreaded switch... In ON position, the outermost terminals were, or should have been, connected. In OFF position, the two rightmost (from this viewing angle) terminals were connected.
Removing the switch was easy. (WARNING: Others have had problems with this step and suggest more gentle alternative approaches, see comments.) What worked for me: A firm grip with pliers, and a rolling motion towards the upper part of this image worked fine. I tried turning on the computer like this, with all terminals disconnected, but the state of the switch was detected as OFF. In my opinion, other than having no software disable for the switch, this was the design error made by Lenovo engineers. The switch should work so that the state is switched only when a connection is made.
A jump wire was soldered between the outer terminals. This did the trick!
Remove the power cord and battery. Remove all screws from the back, except for the four screws that keep the screen hinges in place, and the RAM slot cover screws.
This is how many screws you should have at this point. Let me count... 10 with red tips and 1 smaller one. The screw holding the hard disk slot cover is not here. I broke the thin plastic cover long ago.
Pry open the wristrest with your fingernails
The wrist rest and keyboard should now come off nicely. (If not, you should have removed more screws!) Pull off their connectors.
With the keyboard and wrist rest away, this is how it looks in there
Now let's start removing screws from the inside. We need only to remove the ones that hold down the mainboard. Let's start with these two. Note that the screws down here are different, so sort the screws according to where you took them from so that you know where to put them back later.
This ribbon cable must be detached from the mainboard
Flip open the connector and you can simply lift up the end of the ribbon cable
Remove the two black screws (the other is already removed in this image) holding down the WLAN card. If you have a different model, you may have some other stuff here, so act accordingly.
Remove the WLAN card (or whatever you have there, that might hold down the mainboard)
Remove this screw
Remove these three screws (two black ones and one silver)
Remove the screws holding down the display connector
Lift up the display connector to detach it
Remove the hard disk. Could've done this much earlier...
Pry off the plastic strip that goes around the left, upper and right part of where the keyboard was. Start from either end.
Lift up the metal coverings so that you can pull out the mainboard underneath. You may have to detach some small pieces of adhesive tape first
When pulling out the mainboard, be careful not to injure this ribbon cable
When the mainboard has come loose, flip upside down the computer with the screen slightly open, so that you can allow the mainboard to rest on it. Now the culprit of all the troubles is nicely accessible... Remove the switch and solder a jump wire connection between the outer pads. (See the first three images of this article!)
When you have done the deed that had to be done, it is time to put everything back together again. Start by putting the mainboard in its correct place.
When putting back in the mainboard, again, be careful not to injure this ribbon cable
Push in the wireless LAN card (or whatever you have there)
Attach these three black screws
Attach these two black screws and the silver screw
Put the WLAN antenna cables under this ribbon cable
Lay the ribbon cable down into the connector
Close the connector
Make sure the WLAN antenna cables are properly connected to the WLAN card
Attach these two screws
Push down the display ribbon cable connector into its slot
Attach the two screws that hold the connector in place
Put back the hard disk
Reattach the large plastic strip
This is how the insides look at this point
Attach the keyboard connector
Attach the wristrest connector
Put the keyboard in place and snap the wrist rest in place